Django Admin - Include Member
Include Member in the Admin Interface
To include the Member model in the admin interface, we have to tell Django that this model should be visible in the admin interface.
This is done in a file called admin.py, and is located in your app's folder, which in our case is the members folder.
Open it, and it should look like this:
my_tennis_club/members/admin.py:
from django.contrib import admin

# Register your models here.
Insert a couple of lines here to make the Member model visible in the admin page:
my_tennis_club/members/admin.py:
from django.contrib import admin
from .models import Member

# Register your models here.
admin.site.register(Member)
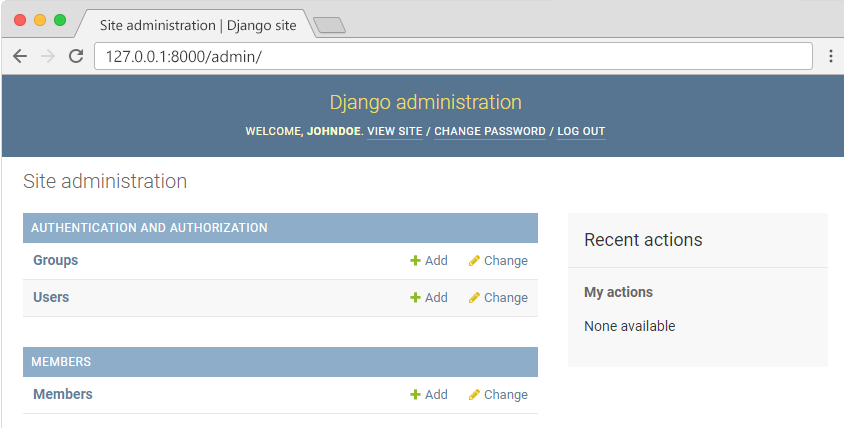
Now go back to the browser and you should get this result:

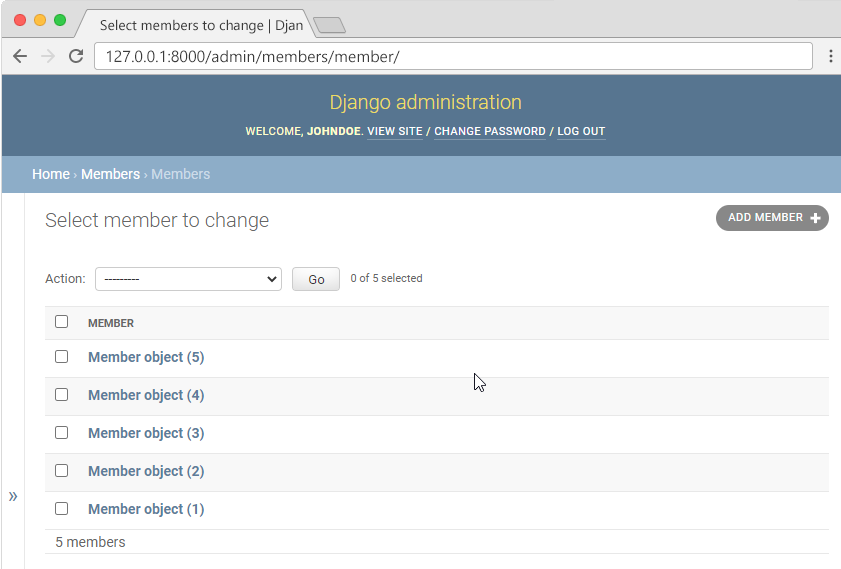
Click Members and see the five records we inserted earlier in this tutorial:

Change Display
In the list in the screenshot above, we see "Member object (1)", "Member object (2)" etc. which might not be the data you wanted to be displayed in the list.
It would be better to display "firstname" and "lastname" instead.
This can easily be done by changing some settings in the models.py and/or the admin.py files. You will learn more about this in the next chapter 设置列表显示.